Contents
- 1 Cat6 Cable Installation at Home
- 2 What is Cat6 Cable?
- 3 Benefits of Cat6 Cable Installation
- 4 Tools and Materials Needed
- 5 Planning the Installation
- 6 Step-by-Step cat cable Installation Process
- 7 Tips for Successful Installation
- 8 Common Mistakes to Avoid
- 9 Cost Considerations
- 10 Maintenance and Troubleshooting
- 11 Future-Proofing Your Network
- 12 Conclusion
- 13 FAQs
Cat6 Cable Installation at Home
In today’s digital age, a reliable and high-speed internet connection is essential for both work and leisure activities. Whether you’re streaming movies, gaming online, or working from home, having a robust network infrastructure is crucial. One often-overlooked aspect of this infrastructure is the type of Ethernet cable used. In this article, we’ll explore the benefits and process of Cat6 cable installation at home.
What is Cat6 Cable?
Cat6, short for Category 6, is a type of twisted pair Ethernet cable that is designed to support faster data transmission speeds and higher bandwidth capacity compared to its predecessors, such as Cat5e. It is characterized by its tightly wound pairs of copper wires and a thicker sheath, which helps reduce crosstalk and interference.
Benefits of Cat6 Cable Installation
-
- Faster data transmission speeds: Cat6 cables enable faster transfer of data, enhancing internet performance.
-
- Improved bandwidth capacity: Cat6 cables support higher data loads, ideal for multiple connected devices.
-
- Enhanced reliability and performance: Cat6 cables minimize signal loss and interference, ensuring stable connections.
Tools and Materials Needed
-
- Cat6 cables: Essential for high-speed data transmission in local area networks.
-
- Cable tester: Ensures cables are properly connected and functional.
-
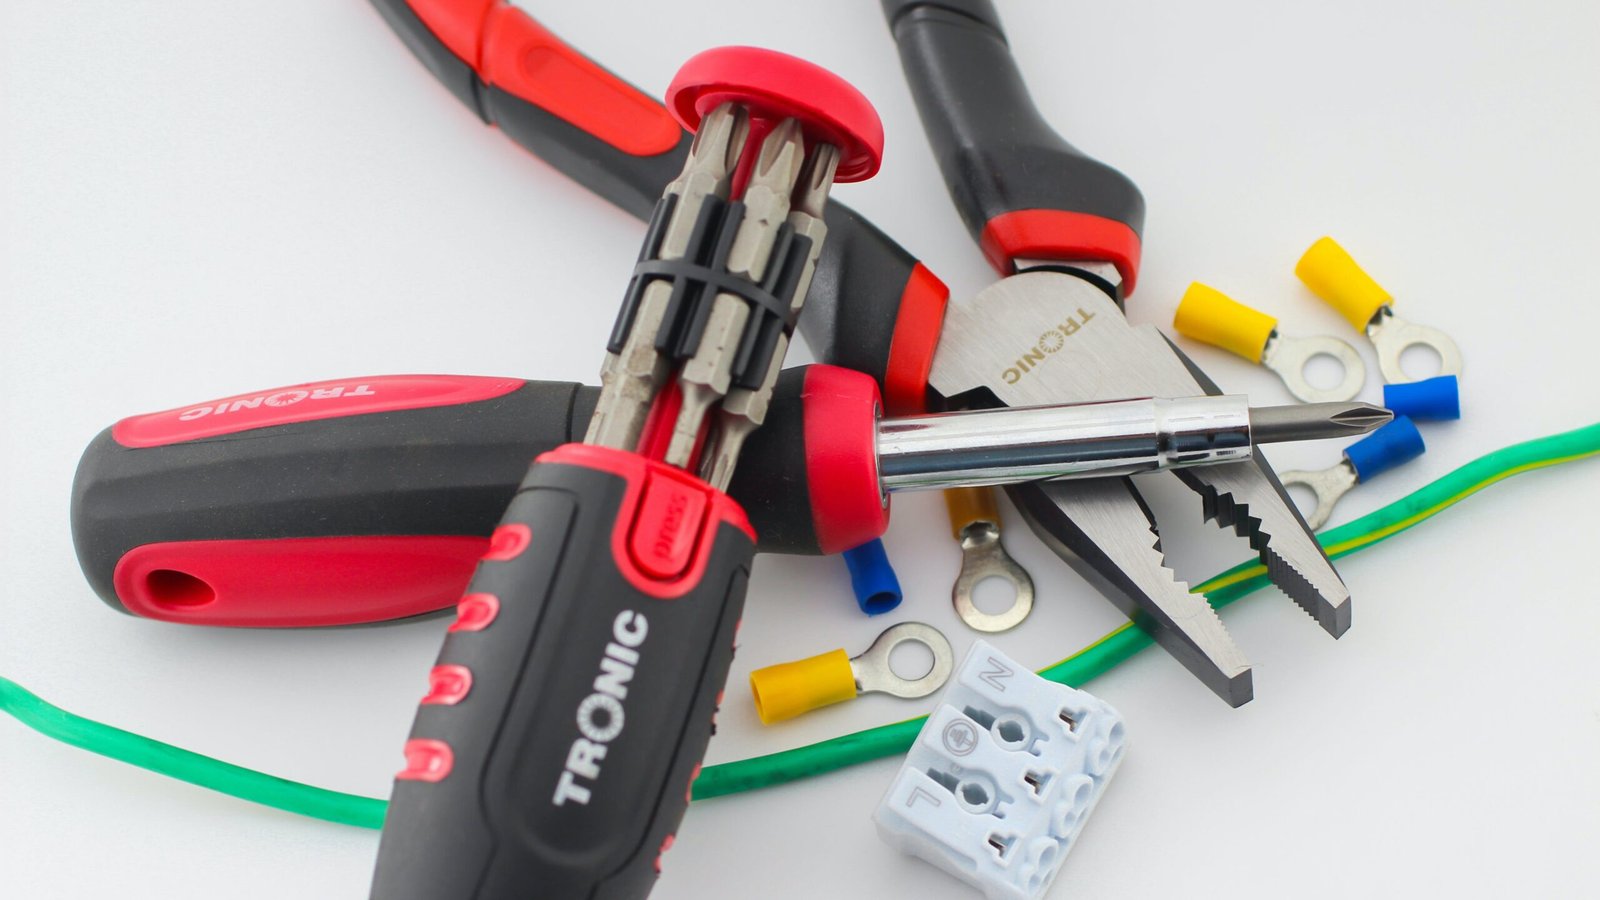
- Crimping tool: Used to attach connectors securely to cable ends.
-
- Wall plates and connectors: Provide a clean and protected termination point for cables.

Planning the Installation
-
- Mapping out cable routes: Plan the path for cables to ensure efficient installation without obstacles.
-
- Determining cable lengths: Measure distances accurately to prevent running short or having excess cable.
-
- Identifying potential obstacles: Recognize and address any potential barriers like walls or furniture that could hinder installation.
Step-by-Step cat cable Installation Process
-
- Preparing the work area: Clear and organize the workspace, prioritize safety precautions.
-
- Running the cables: Lay cables along planned routes carefully, avoiding bends or kinks.
-
- Terminating the cables: Attach connectors securely to cable ends to establish reliable connections.
- Testing the connections: Use a cable tester to confirm proper functionality and identify any issues before completion.
Tips for Successful Installation
-
- Proper cable management: Organize cables neatly to prevent tangling and interference.
-
- Avoiding sharp bends and kinks: Maintain cable integrity by routing them smoothly without sharp bends.
-
- Testing connections thoroughly: Ensure functionality by testing connections rigorously before completion.
Common Mistakes to Avoid
-
- Using incorrect tools: Employing the wrong tools can lead to improper cable termination and connectivity issues.
-
- Neglecting cable labeling: Failing to label cables can result in confusion during installation and troubleshooting.
-
- Ignoring safety precautions: Disregarding safety measures can lead to accidents or damage to equipment and property.
Cost Considerations
-
- Budgeting for materials and tools: Plan ahead by estimating costs for necessary materials and tools.
-
- Comparing DIY vs. professional installation costs: Assess the financial implications of performing the installation yourself versus hiring a professional.
Maintenance and Troubleshooting
-
- Regular inspection of connections: Periodically check connections to ensure they are secure and free from damage or wear.
-
- Dealing with connectivity issues: Address any issues promptly by troubleshooting potential causes such as loose connections or cable damage.
Future-Proofing Your Network
-
- Considering future technology upgrades: Anticipate advancements in technology and plan for compatibility with future devices and standards.
-
- Planning for scalability: Design your network infrastructure to accommodate potential growth in the number of connected devices or increased data demands.
Conclusion
In conclusion, Cat6 cable installation at home offers numerous benefits, including faster data transmission speeds, improved reliability, and enhanced performance. By following the steps outlined in this article and avoiding common pitfalls, you can create a robust network infrastructure that meets your current and future needs.


Pingback: How Much Cost of WIFI Installation at Home| A comprehensive Guide Tutorial 1
Pingback: A Comprehensive Guide to Cat6A Unshielded Direct Burial Ethernet Cable - CUB