Contents
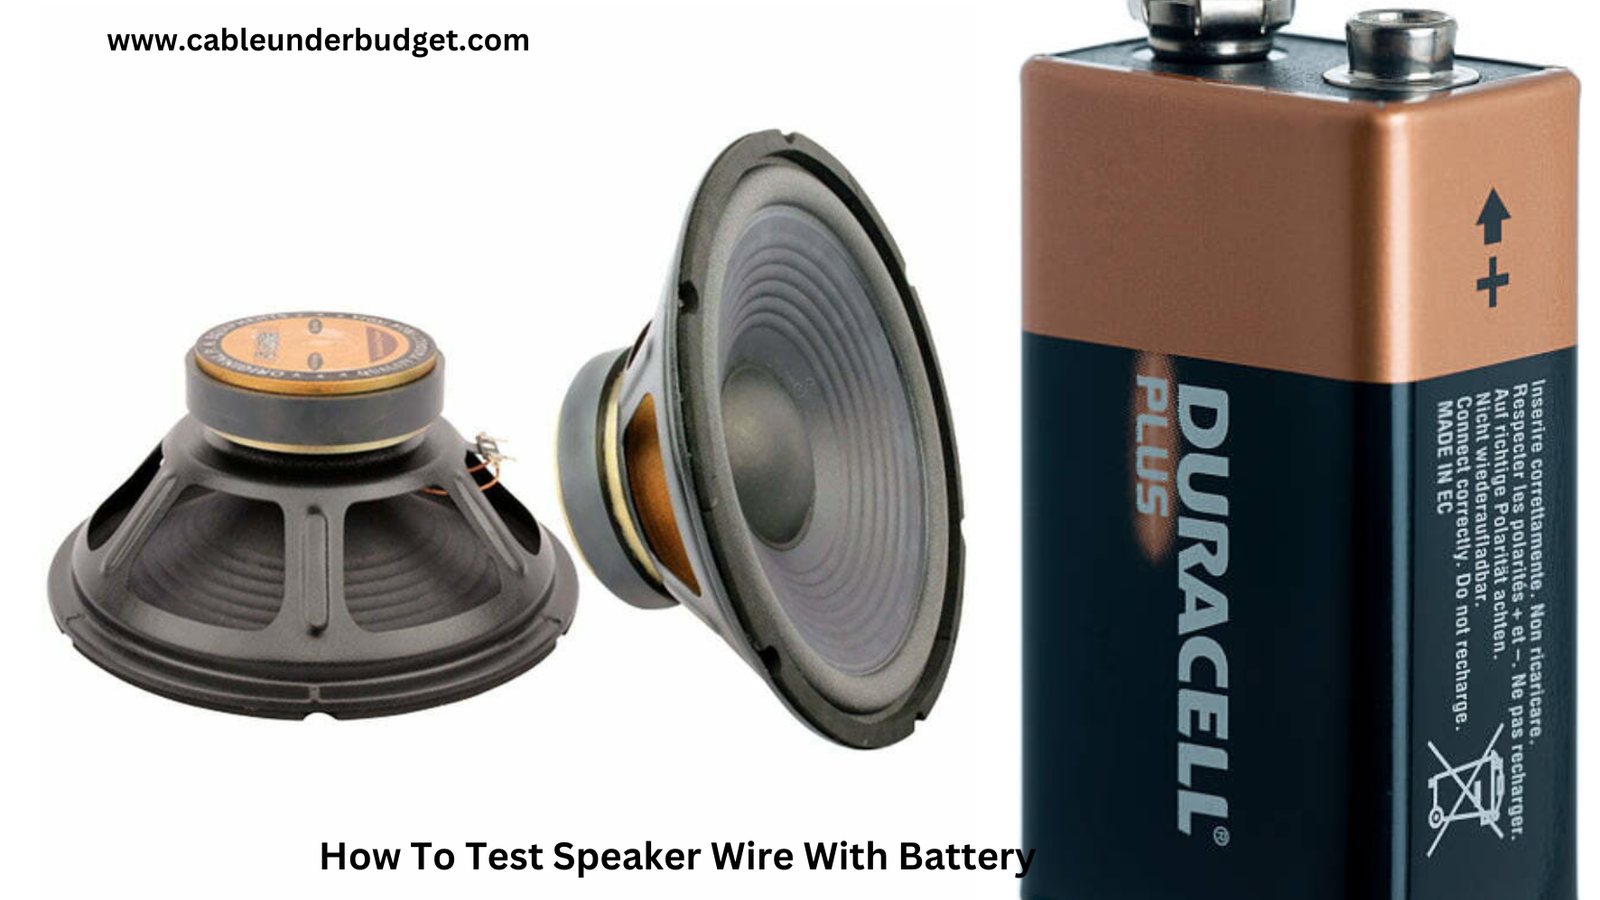
How To Test Speaker Wire With a Battery
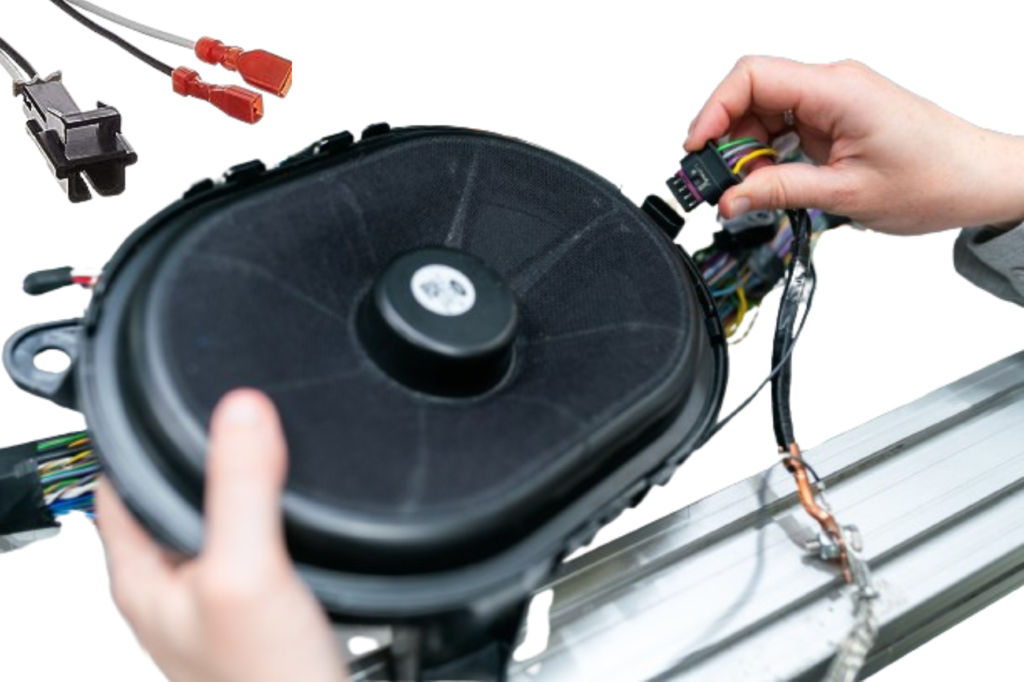
Testing speaker wire with a battery is a simple yet effective method to ensure proper connectivity and identify any faults in the wiring. Whether setting up a new sound system or troubleshooting issues with existing speakers, knowing how to test speaker wire with a battery can help diagnose problems and ensure optimal audio performance. Speaker wire consists of two conductors, typically color-coded for positive (+) and negative (-) connections. These wires transmit electrical signals from the amplifier to the speakers, allowing sound to be produced.
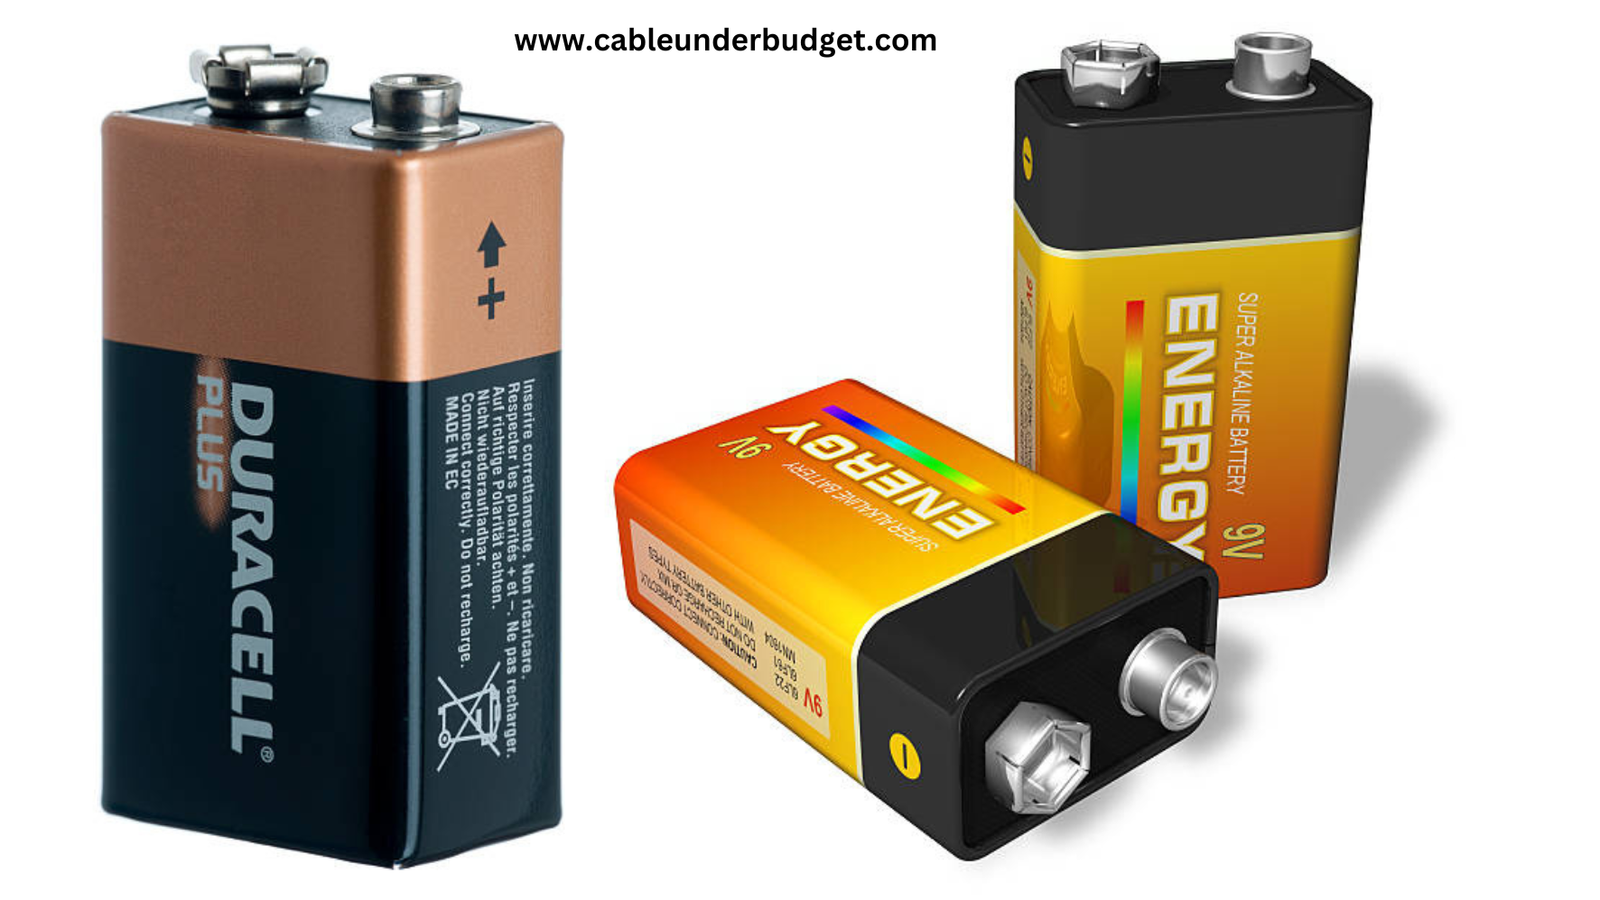
Why To Use a 9-Volt Battery?
Using a 9-volt battery for testing speaker wire provides stronger signals, aiding in detecting faults in longer wires. Their widespread availability and compact size offer convenience and ease of handling during testing, ensuring efficient troubleshooting of audio setups. Overall, the higher voltage of a 9-volt battery enhances sensitivity, making it a preferred choice for many audio enthusiasts and technicians.

Materials Needed
To test speaker wire with a battery, you’ll need the following materials:
-
- 9 V battery (such as AA or AAA)
-
- Wire strippers or scissors
-
- Alligator clips or small pieces of wire
Testing Procedure
Follow these steps to test speaker wire with a battery:
-
- Prepare the Speaker Wire: If the speaker wire is not already stripped at the ends, use wire strippers or scissors to remove about half an inch of insulation from each end of the wire.
-
- Identify Polarity: Before connecting the battery, identify the polarity of the speaker wire. Most speaker wire is color-coded, with one conductor marked as positive (+) and the other as negative (-).
-
- Connect the Battery: Take the 9V battery and hold one end of the speaker wire to the positive terminal (+) of the battery. Then, touch the other end of the wire to the negative terminal (-) of the battery.
-
- Listen for Sound: As you make contact with the battery terminals, listen for a brief popping sound from the speaker. This indicates that the speaker wire is properly connected and conducting electricity.
-
- Repeat for Each Speaker Wire: Repeat the process for each pair of speaker wires in your setup, ensuring that both positive and negative connections are tested.
-
- Inspect for Continuity: While testing, visually inspect the speaker wire for any signs of damage or breaks. If you suspect a fault in the wiring, carefully examine the entire length of the wire for cuts, kinks, or frayed ends.

Troubleshooting Tips
If you encounter any issues during the testing process, consider the following troubleshooting tips:
-
- Check Connections: Ensure that the speaker wire is securely connected to both the speakers and the amplifier.
-
- Inspect Terminals: Check the terminals on the speakers and amplifier for any corrosion or damage that may affect connectivity.
-
- Test Equipment: If you’re still experiencing issues, try testing the speakers with a different amplifier or source device to isolate the problem.
For a quick step by step check this out:
For a quick step-by-step guide, follow these instructions:
-
- Prepare Wire: Strip about half an inch of insulation from each end of the speaker wire.
-
- Identify Polarity: Determine which wire is positive (+) and which is negative (-) based on color-coding or markings.
-
- Connect Battery: Hold one end of the wire to the positive terminal (+) of a 1.5V battery and the other end to the negative terminal (-).
-
- Listen for Sound: Listen for a brief popping sound from the speaker when the wire makes contact with the battery terminals.
-
- Repeat: Repeat the process for each pair of speaker wires, ensuring proper connectivity.
-
- Inspect for Damage: Visually inspect the wires for any signs of damage or breaks.
-
- Troubleshoot: If there are issues, check connections, terminals, and test equipment for faults.
This quick check ensures your speaker wires are properly connected and functional.
Conclusion
Testing speaker wire with a battery is a straightforward method to verify connectivity and troubleshoot issues in audio systems. By following the steps outlined above and conducting regular checks, you can ensure that your speakers deliver optimal sound quality and performance.

